

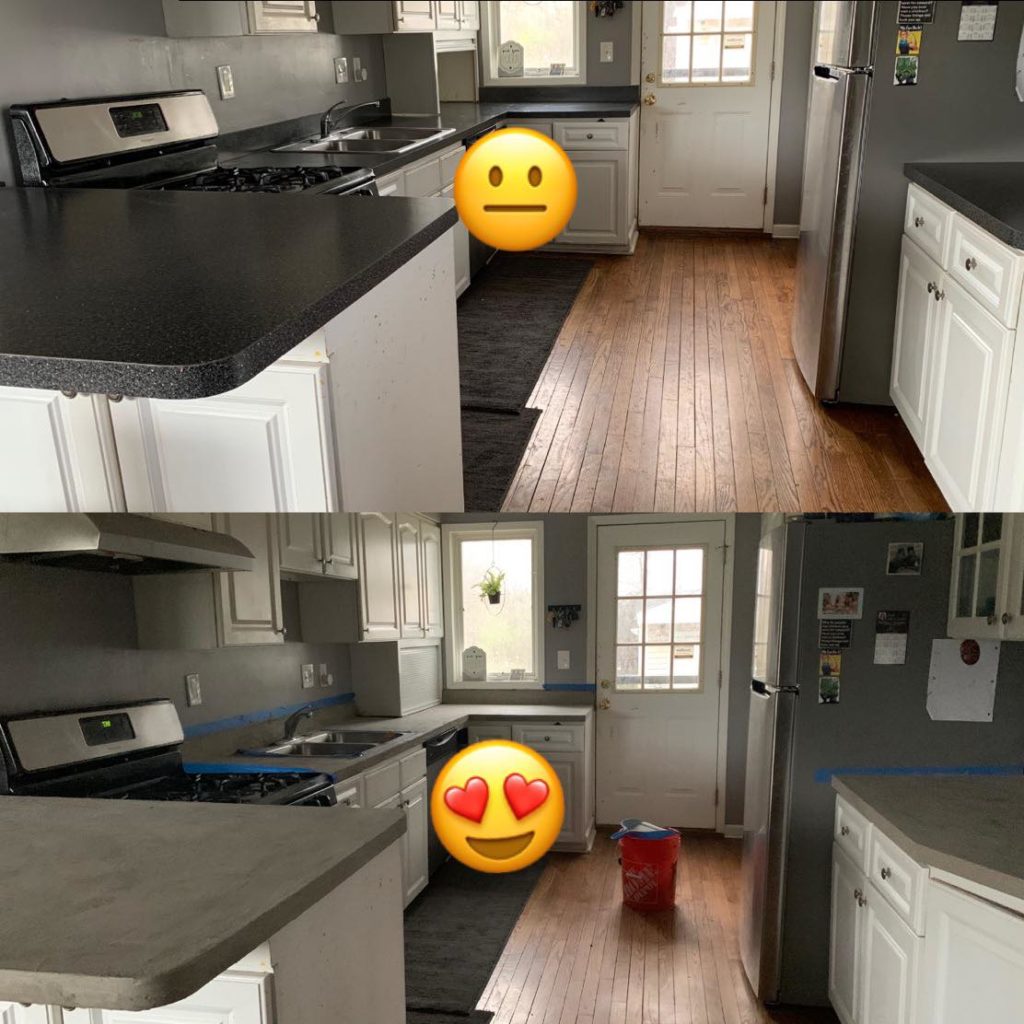
Goes without saying that we are all bored in the house. So, after about a year of putting off re-doing my countertops. I finally “had the time” to do this project hahahaha!
I have been eyeing concrete countertops for over a year now. Reading, watching, learning, etc. I am obsessed with them! If I could, I would have concrete countertops, bathroom vanities, and floors. I LOVE the industrial look and feel of them.
However, my husband drew the line at countertops….
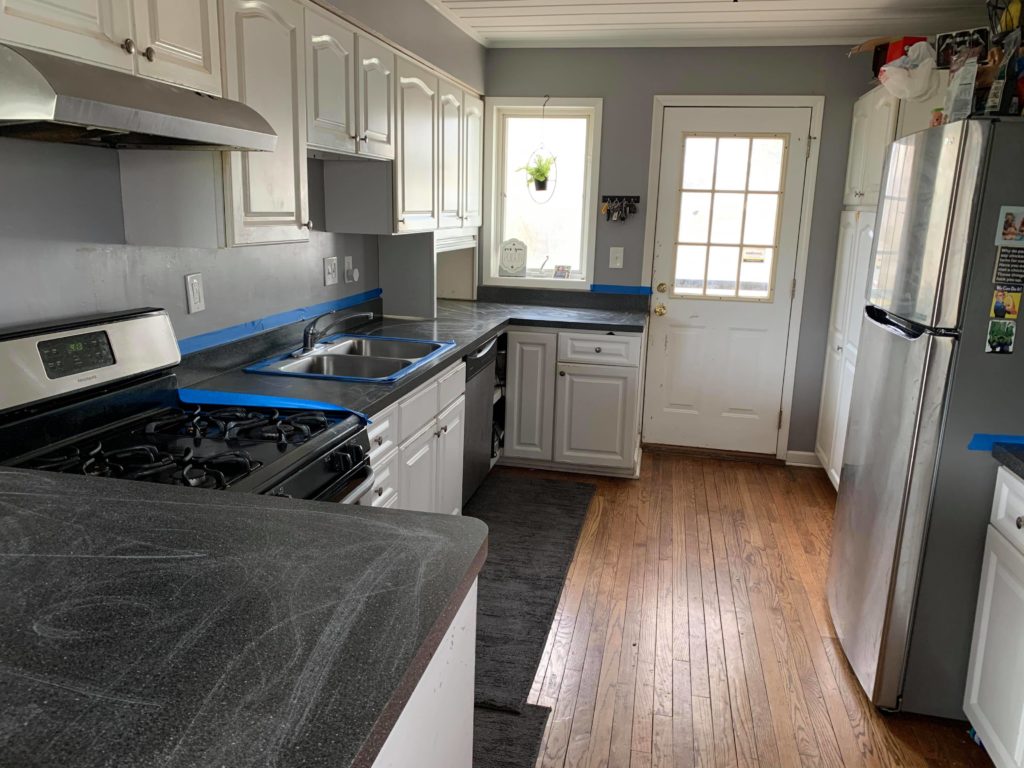
Since we were allowed to shop at Home Depot again, I decided to go to the store as soon as they opened. Since I wasn’t quite sure what I needed and shopping online for curbside pick up was frustrating me. Mask on, 6am, no line and being the ONLY customer in the store and no one offered to help me! But, I finally found what I was looking for. FYI- the concrete countertop materials are NOT in the concrete section, but rather the tile section……….. I also did not put in a color. I wanted the straight concrete color. You can dye them (THAT is in the concrete/mortar section).
Once I got home I kind of chickened out and stood there like “do I really want to do this? If I fuck them up I cannot afford to replace them right now!” The struggle was real. My daughter Aurora decided to graciously “help me” by turning on the sander and got the counter pretty good while I was taking a drink of coffee across the room… so, at that point I just went for it!
What you will need:
- Henry’s Feather Finish (I used 3 boxes)
- Drywall knives the 6″ was my favorite
- Mask and gloves
- 511 impregnator finish
- Safecoat Acrylac finish
- Mixers ( I used paint stir sticks)
- Washclothes
- Tape
- 40, 120 and 220 grit sand paper
- Paint brush for the finishing coats
- Alcohol…. a lot of it!!!
- A badass playlist mine was mix between CardiB and Post Malone lol
Step one: scratch the shit out of the base countertops. I used a 40 grit sand paper. Looking back, I wish I would have scratched them up even more and used a bonding agent. The tutorials you read will be a 50/50 if you need one or not. I wish I would have. Why did I decide not to use a bonding agent? They are latex based and I am severely allergic to latex.
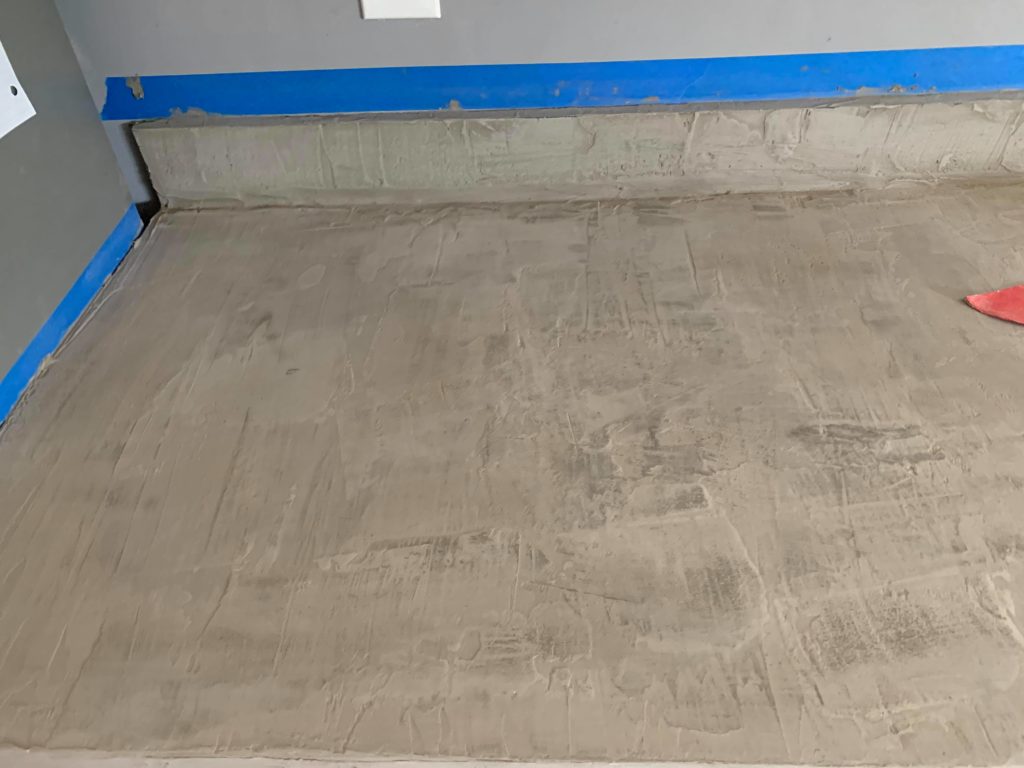
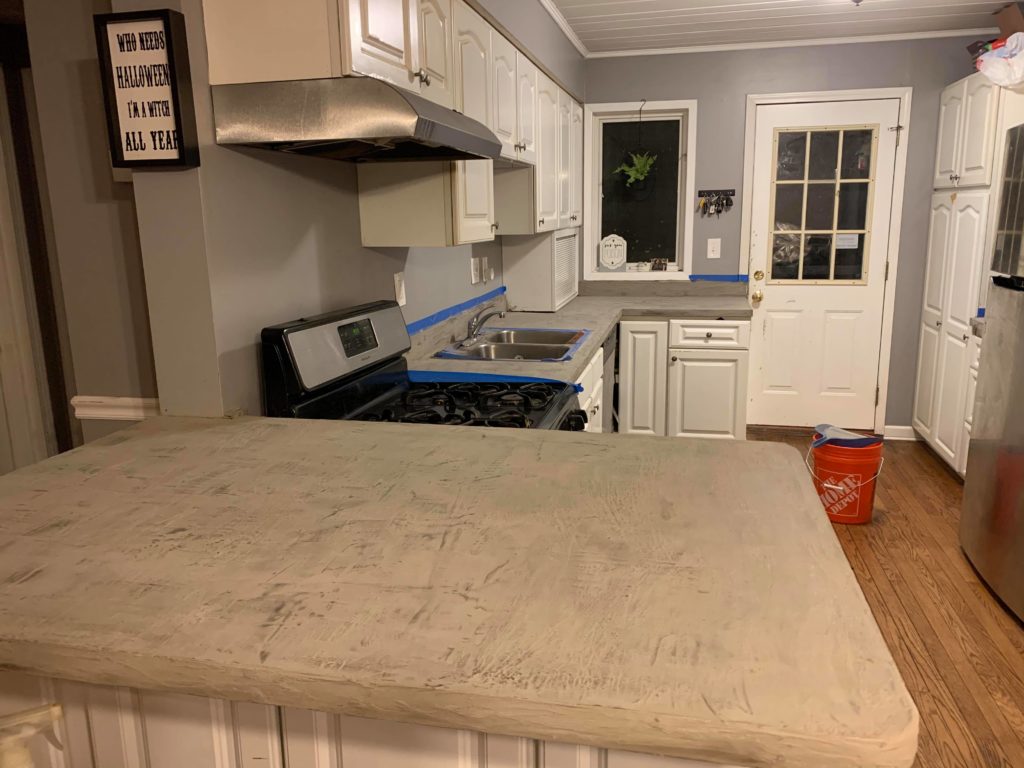
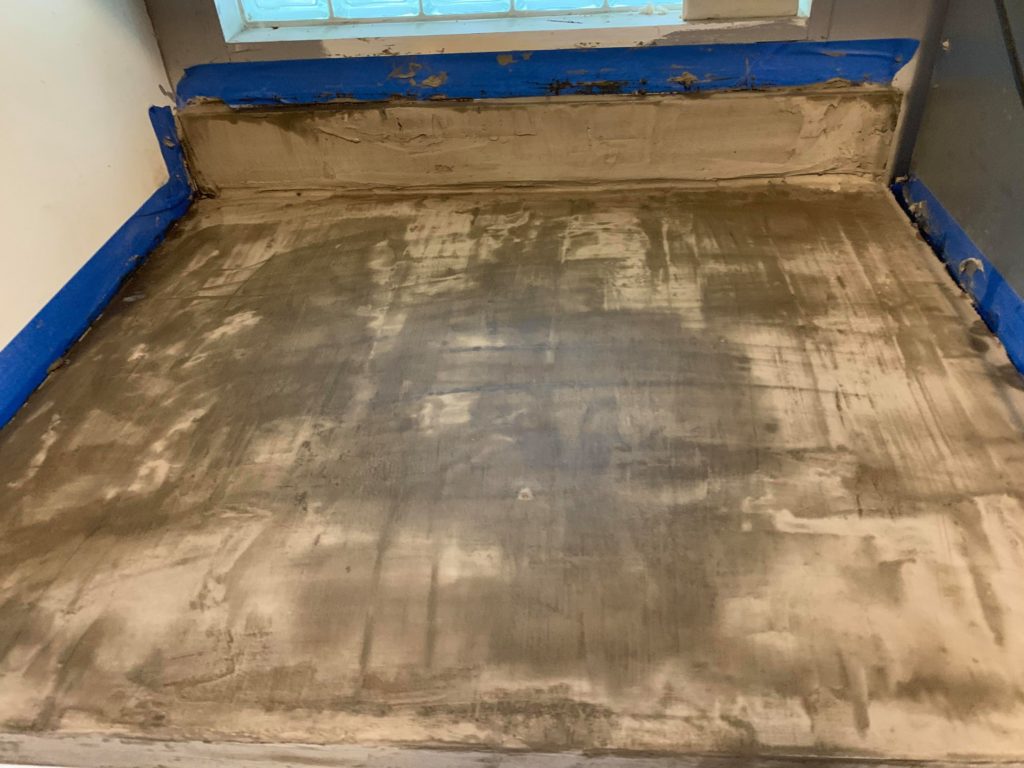
Step two: wash down the dust and anything else on the counter tops. Tape the edges and make sure you are careful to not cement the tape to the walls or sink. Mix your concrete. I would do it 2 cups at a time. I made the mistake of “it takes 15 minutes for it to set up. I can so get a bunch done in 15 minutes.” Newflash- I did not, you cannot. In all reality you have about 7.5-8 minutes before it starts getting hard and setting up. I wasted about 8 cups of concrete doing this. Start spreading it on there, making it as even as possible. Don’t think “I will just even it out with sanding”. You will not. It will be uneven AF and annoying.
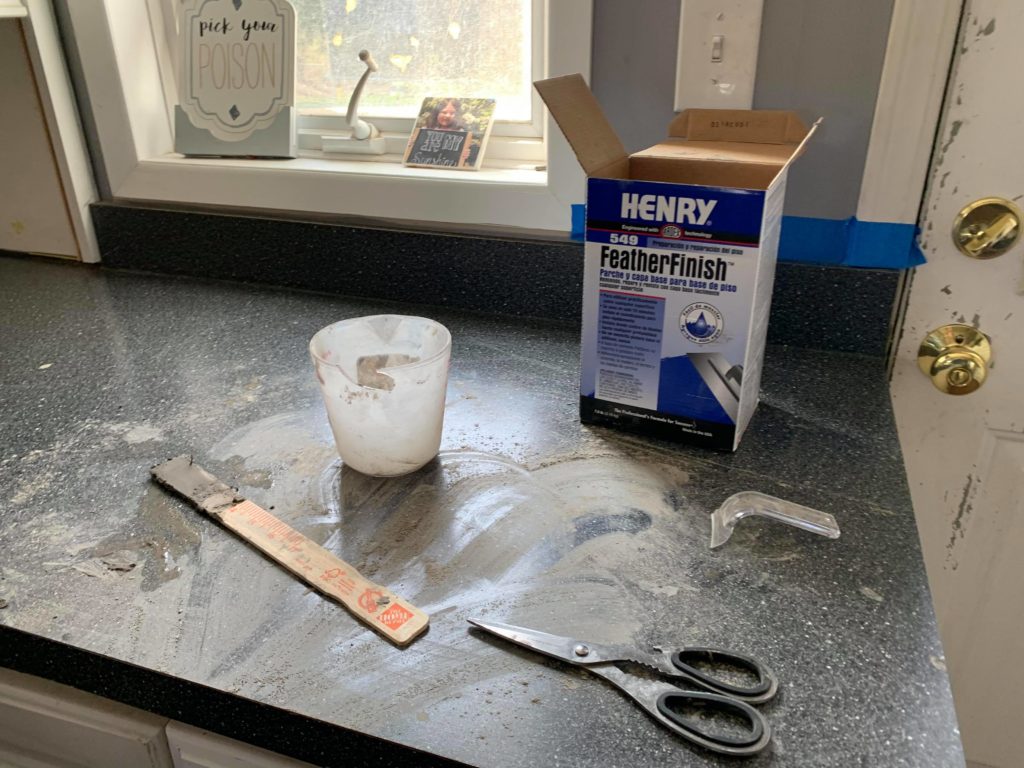
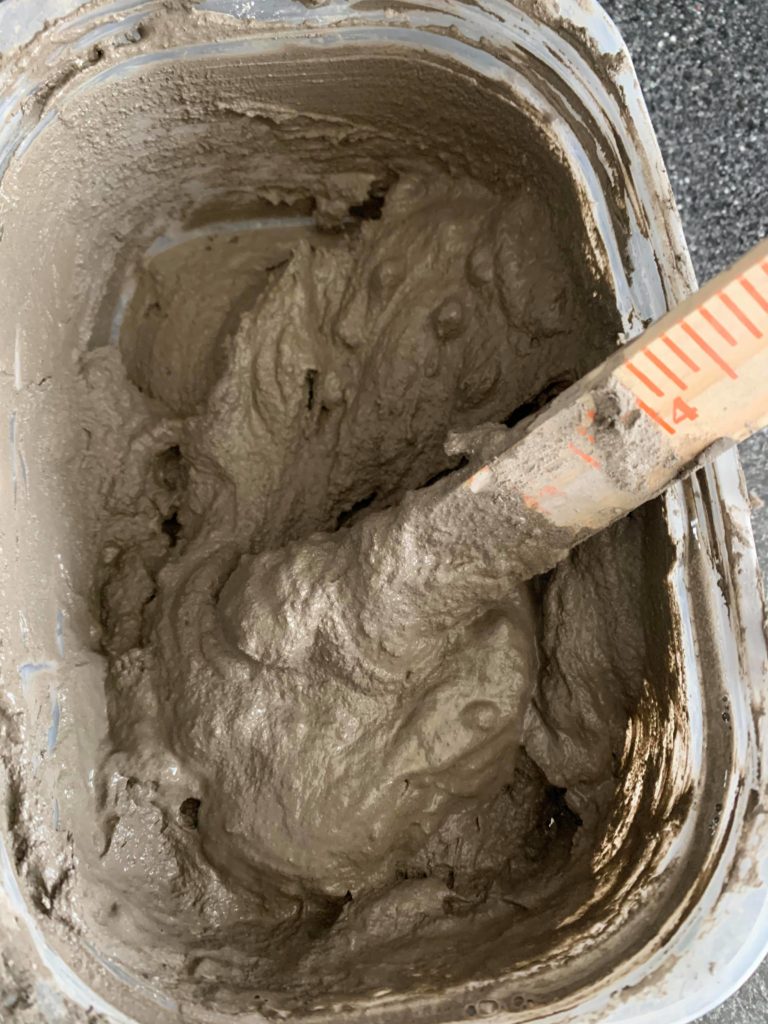
Step three: make sure you wipe your knife all and clean your dish between each batch. Layers will start to harden and will cause what I called “rocks” in the mixture and ruin your strokes.

Step four: let it dry for about 3 hours.

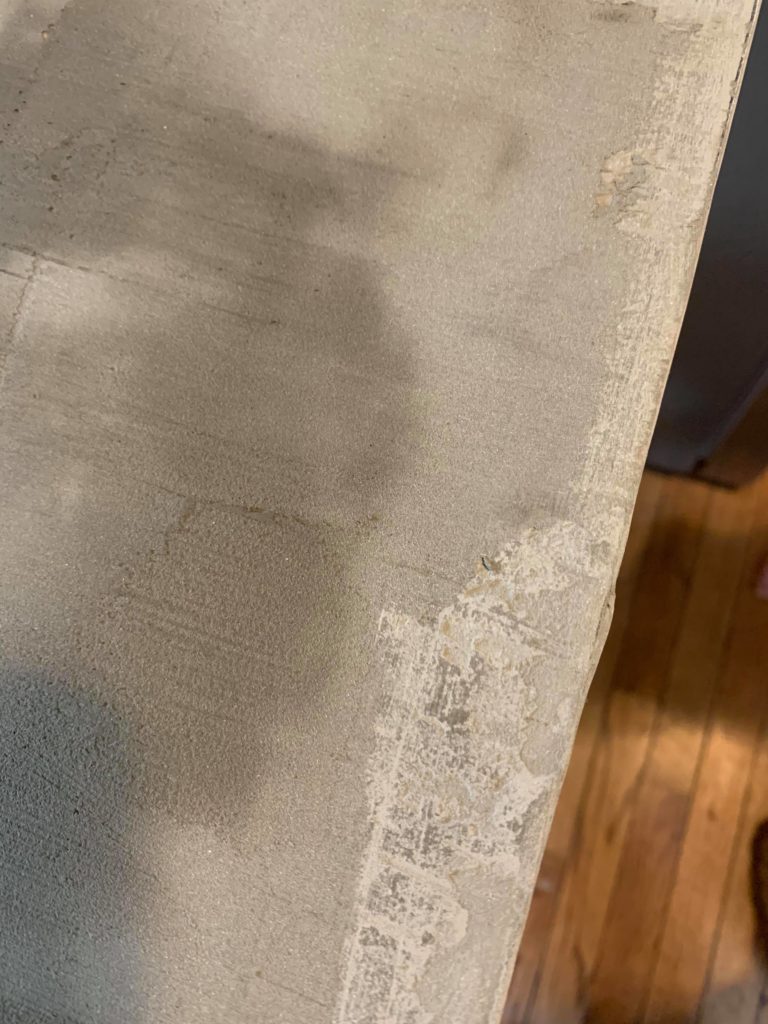
Step five: sand. sand. sand. Be prepared for dust to be every where. And I mean everywhere. I have dust cracks and crevices of my house I never even knew were there! ps- wear gloves when you sand. I thought because I was using a 120 and 220 grit I didn’t need to….. my finger tips are STILL raw.
Step six: repeat steps 2-5 for about 4 layers. Make sure your players are even and you go all the way from edge to edge. The layers will be different colors (with the layering they will get a little darker).
Step seven: Let them cure over night or about 12 hours.
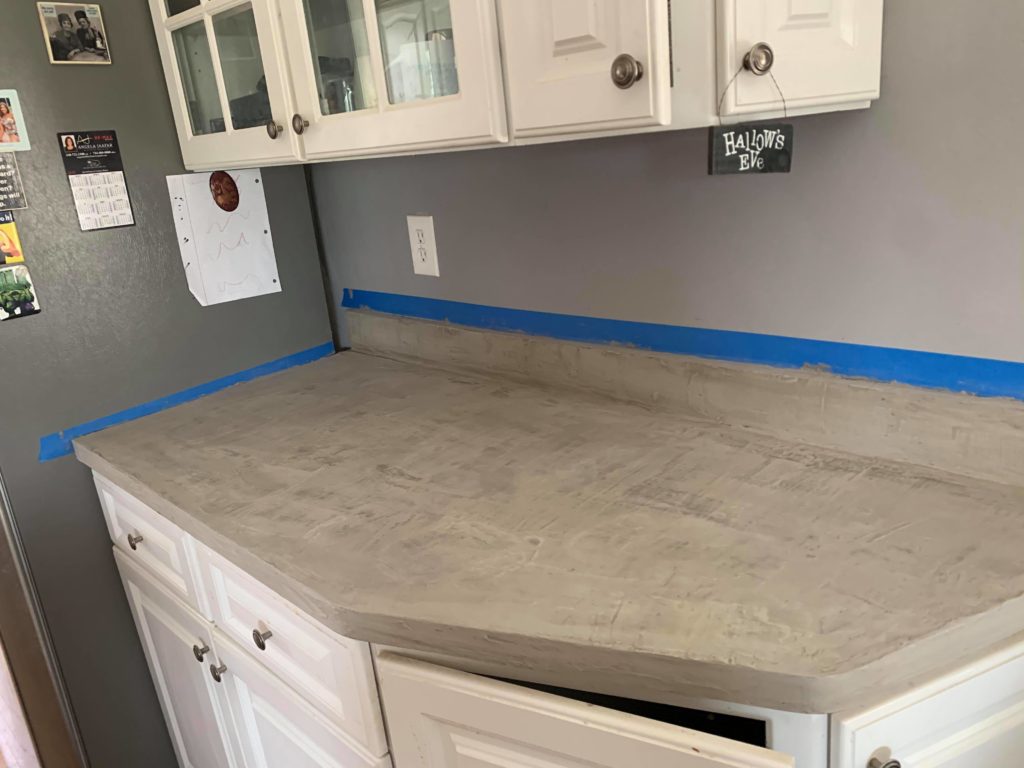
Step eight: Seal them with a paint brush. Let dry for 1 hour and then seal again. Let sit for 24 hours. Again, wear gloves. I left the edges of my countertops rough because I liked the industrial rustic look.
Step nine: Seal with acrylic top. I didn’t think I needed to do this. Again, 50/50 on what you will read online. After cooking in the kitchen once I got grease on the counter tops and I need to put the acrylic on it. yay. So whenever Amazon delivers that I will be putting it on.
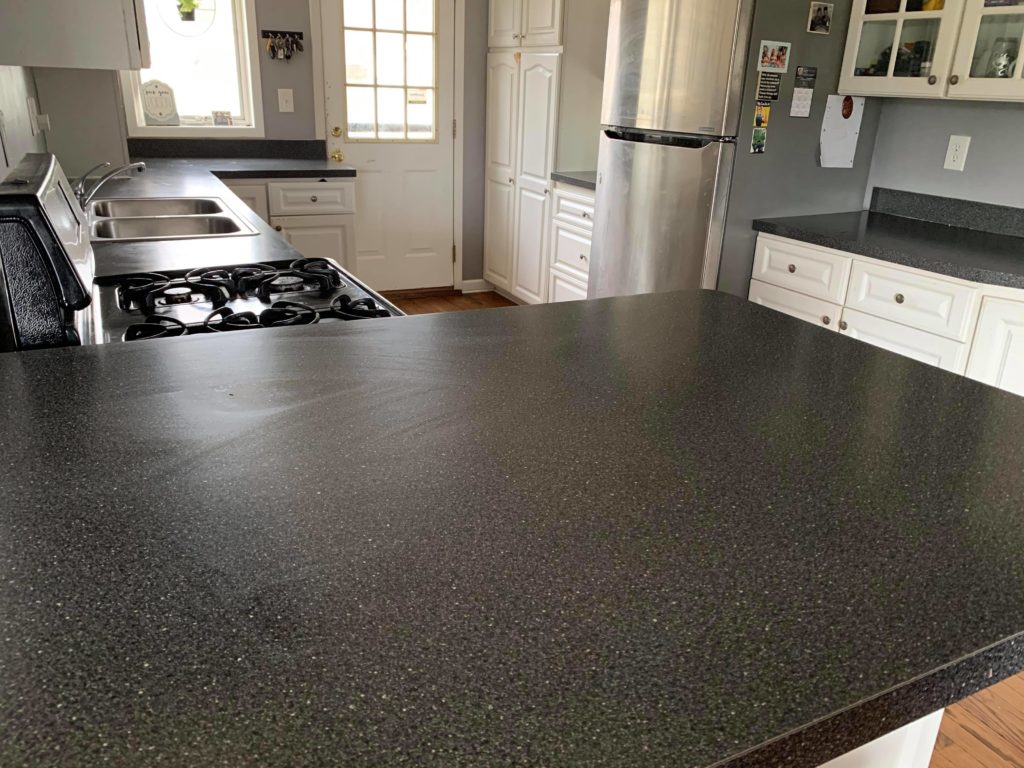
Step ten: Enjoy TF out of them because they are cool as hell!!

I am obsessed with my countertops and cannot wait to have people over.

Looking back I would have waited to start them in the evening- you know when your family is not awake and needing to eat every 45 minutes. Your kitchen will be out of commission for about 3 days doing this. It’s not a quick project by any means. So make sure you are ready for that.
Also, they take a LOT of work. I thought it would be easy. They are not. I also opted to hand sand them. I felt like I had more control over the process that way. ALSO, hand sanding doesn’t blow dust everywhere!!!
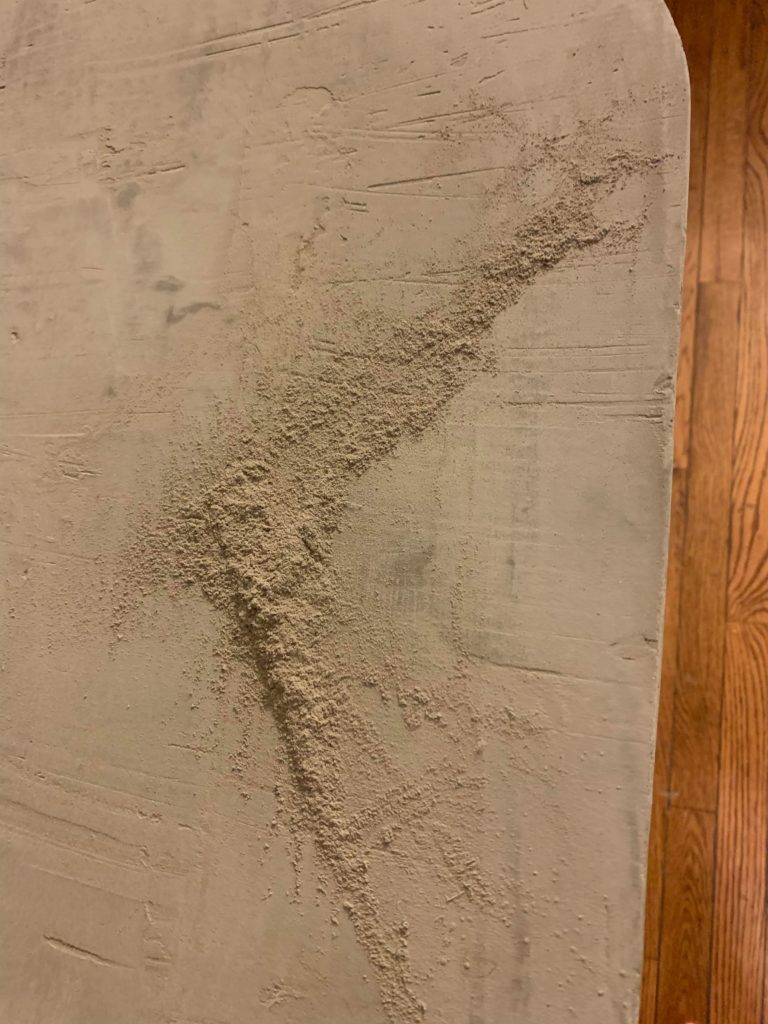
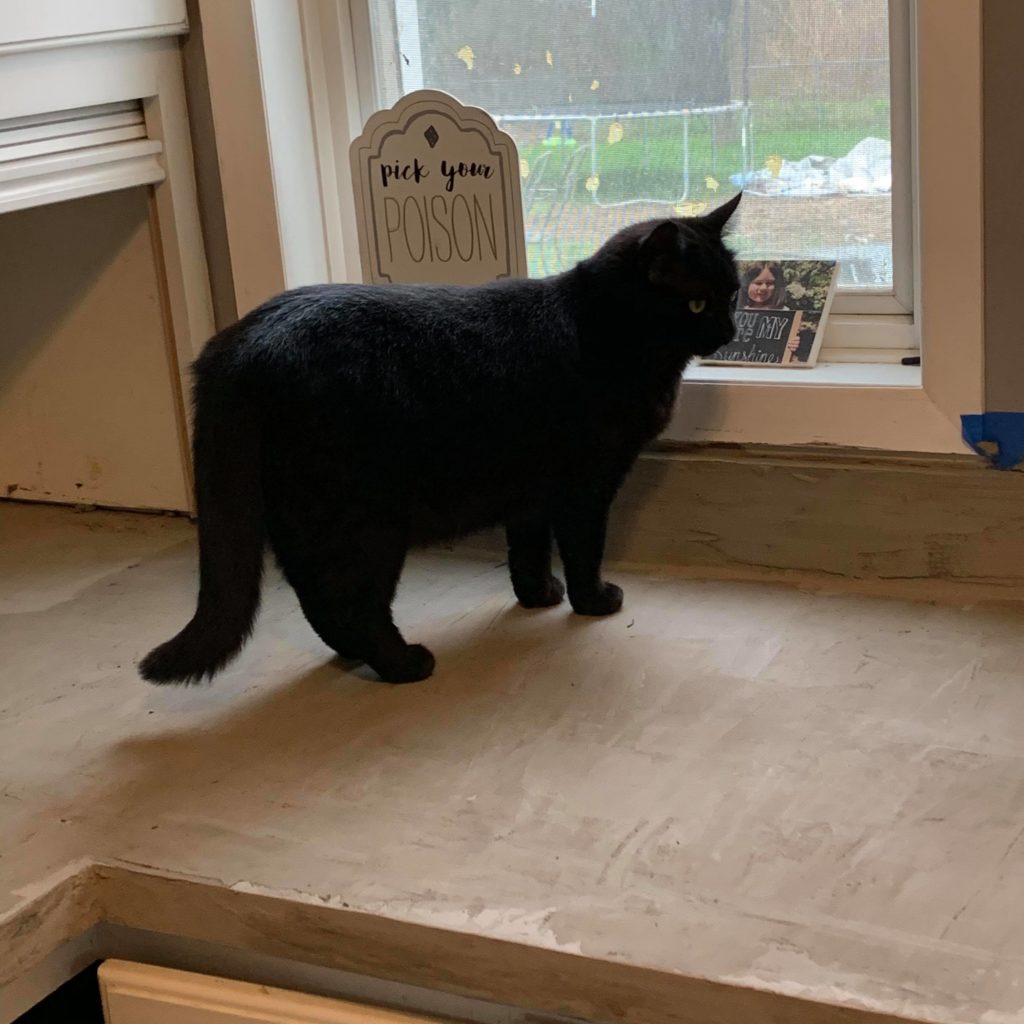
Side note: if you have a cat. Keep them off the counters…… mine left me a nice little present of paw prints that I had to sand out….
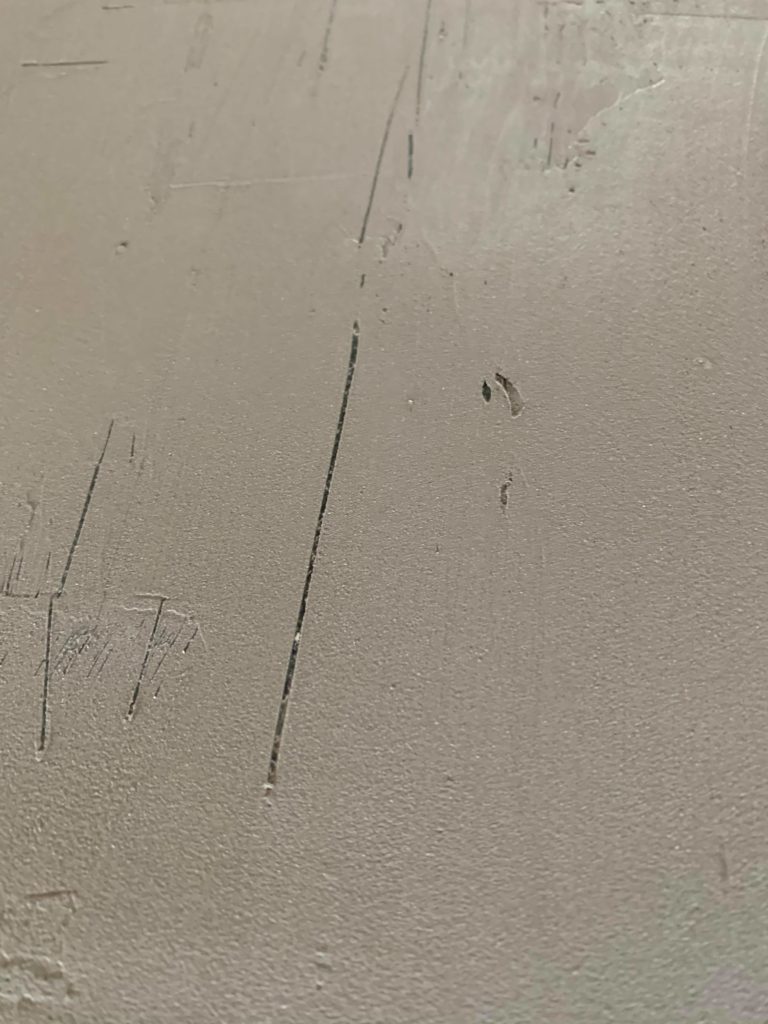
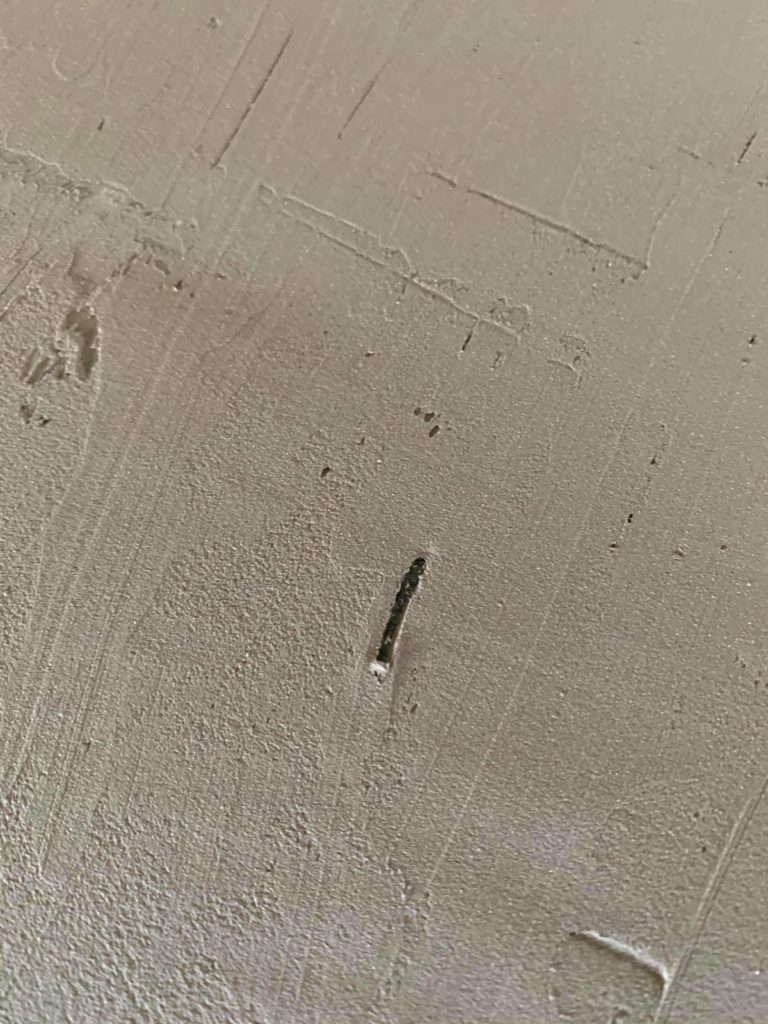
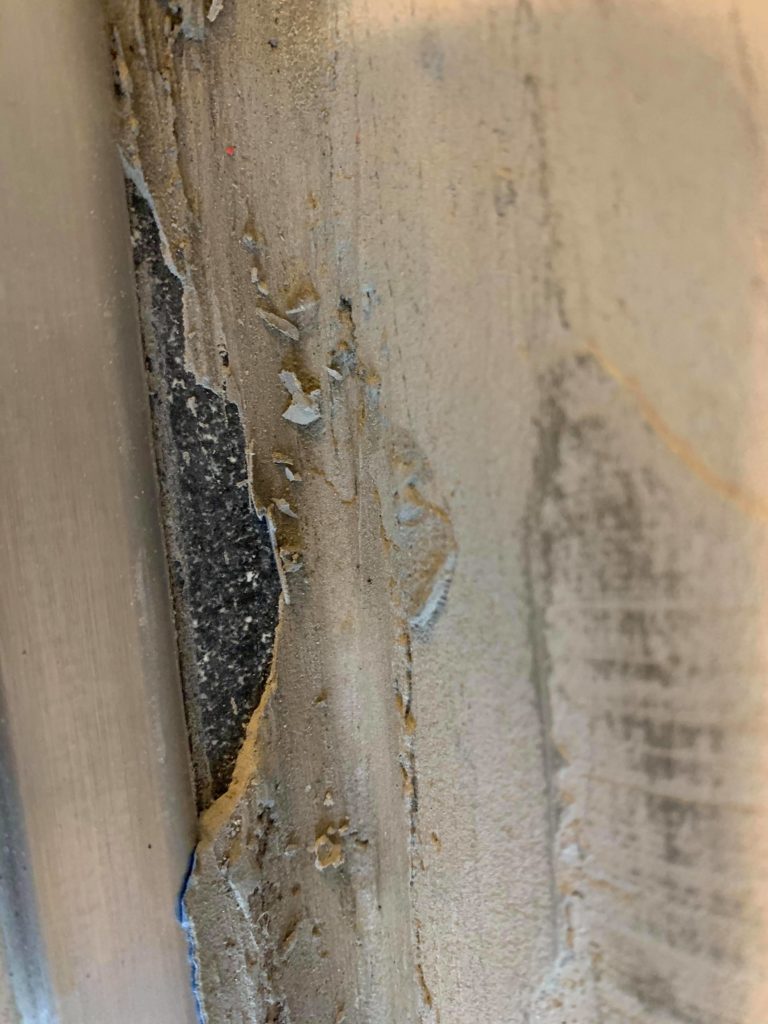
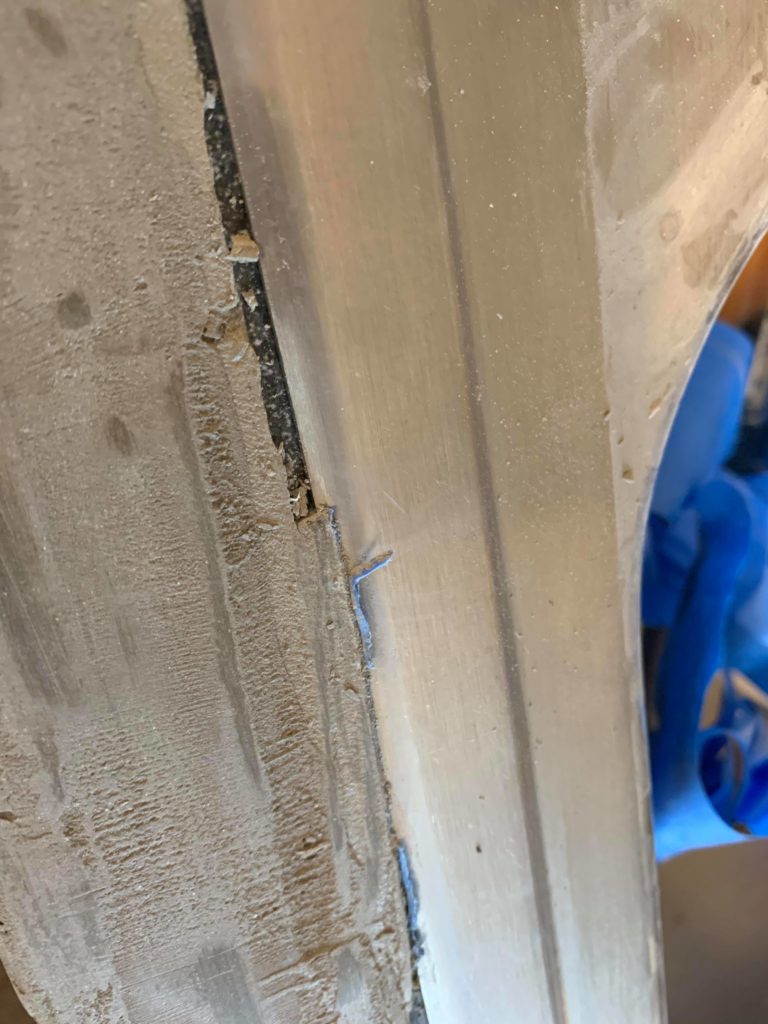
What happens if you do not pay attention to the taping and cement it to the sink. Pieces will break off.
Over all the project cost me about $150 (even with my mistake of mixing too much concrete with the first batch) and was about 12 hours the first day. The rest of the time was just waiting between coats.
Back splash and fresh paint is next week!
Be the first to comment.